This lesson plan comes largely thanks to Susan of freshly picked, whose incredible and much more lucid elastic-waist skirt pattern you can find here. The first several steps are hers, and are much easier to understand on her blog. Thanks also to Kendi, who told me that I could add text using Picasa and contributed to any clarity this lesson plan has.
P.S. You can click on any of the pictures to make them larger if you can't see the text.

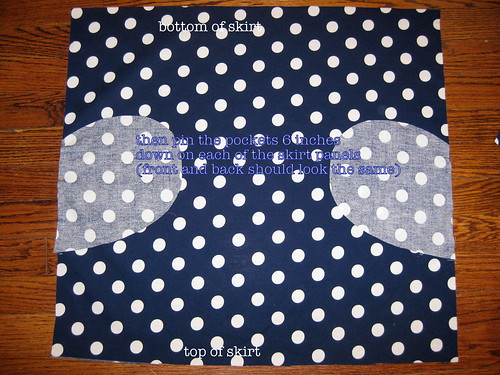
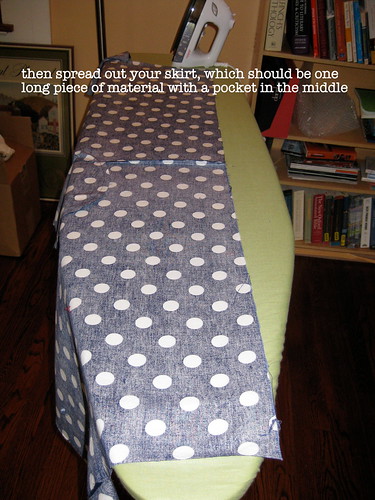
In between these steps, measure your waist and the length you'd like the skirt. The width of your two skirt pieces should be a few inches less than your waist; the length should be 3-4 inches longer than your desired length. For instance, my waist is 28 in and I want an 18-inch skirt, so I cut pieces that are 24 x 21.
And remember to wash, dry, and iron your fabric before you begin, since fabric often shrinks!

I like to fold my cloth and lay the pattern on top of it so I cut two pieces at once.
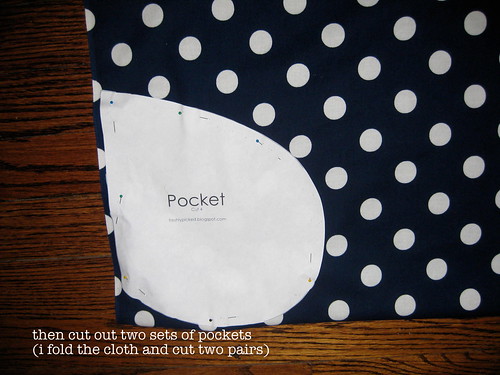
You can only find the pocket pattern on freshly picked--you can find it here (thank you, Susan!)

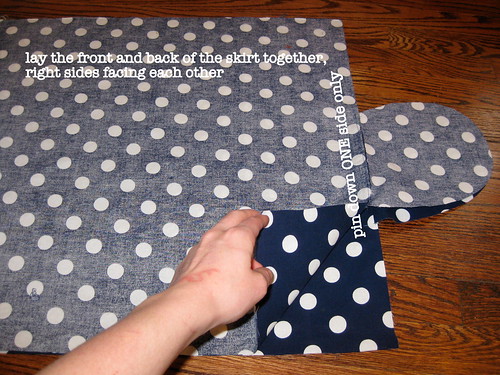
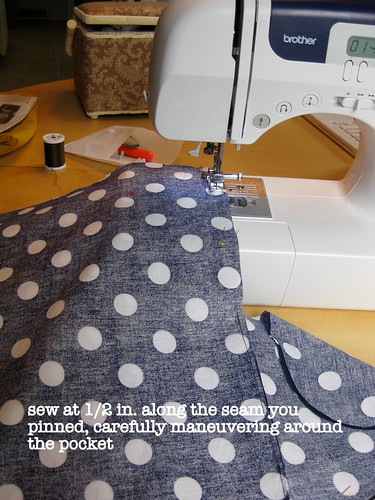
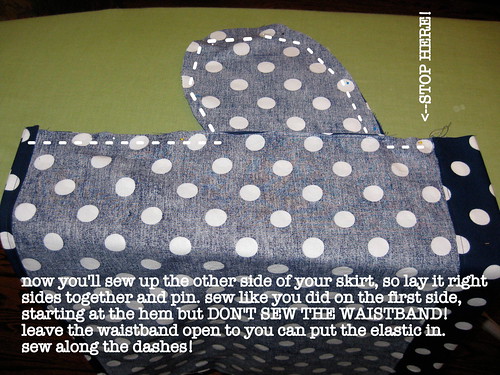
This is where this pattern deviates from Susan's. You could also sew both sides together, but you'd still want to leave the waistband open so that you can put the elastic in later.


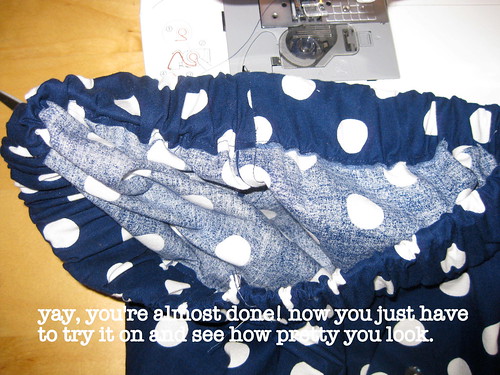

Whew, this was long! If you do successfully make a skirt, I'd love to see a photo when you're done, so email me if you'd like.
And feel free to ask questions in the comment section--I'll try my best to answer them with my extremely limited knowledge. Happy sewing!